Writing Your Evaluation
Evaluating is a process of assessing how far your work has met or exceeded the objectives created at the start of the project. You should use your objectives as the structure of your evaluation. Your objective should be the sub-title and then you can start talking about the strengths and weaknesses about the way you met this objective in your work. After this, you should also discuss and suggest actions or ways for improvement.
(From ISLE resource- linked here)
My Aims and Objectives
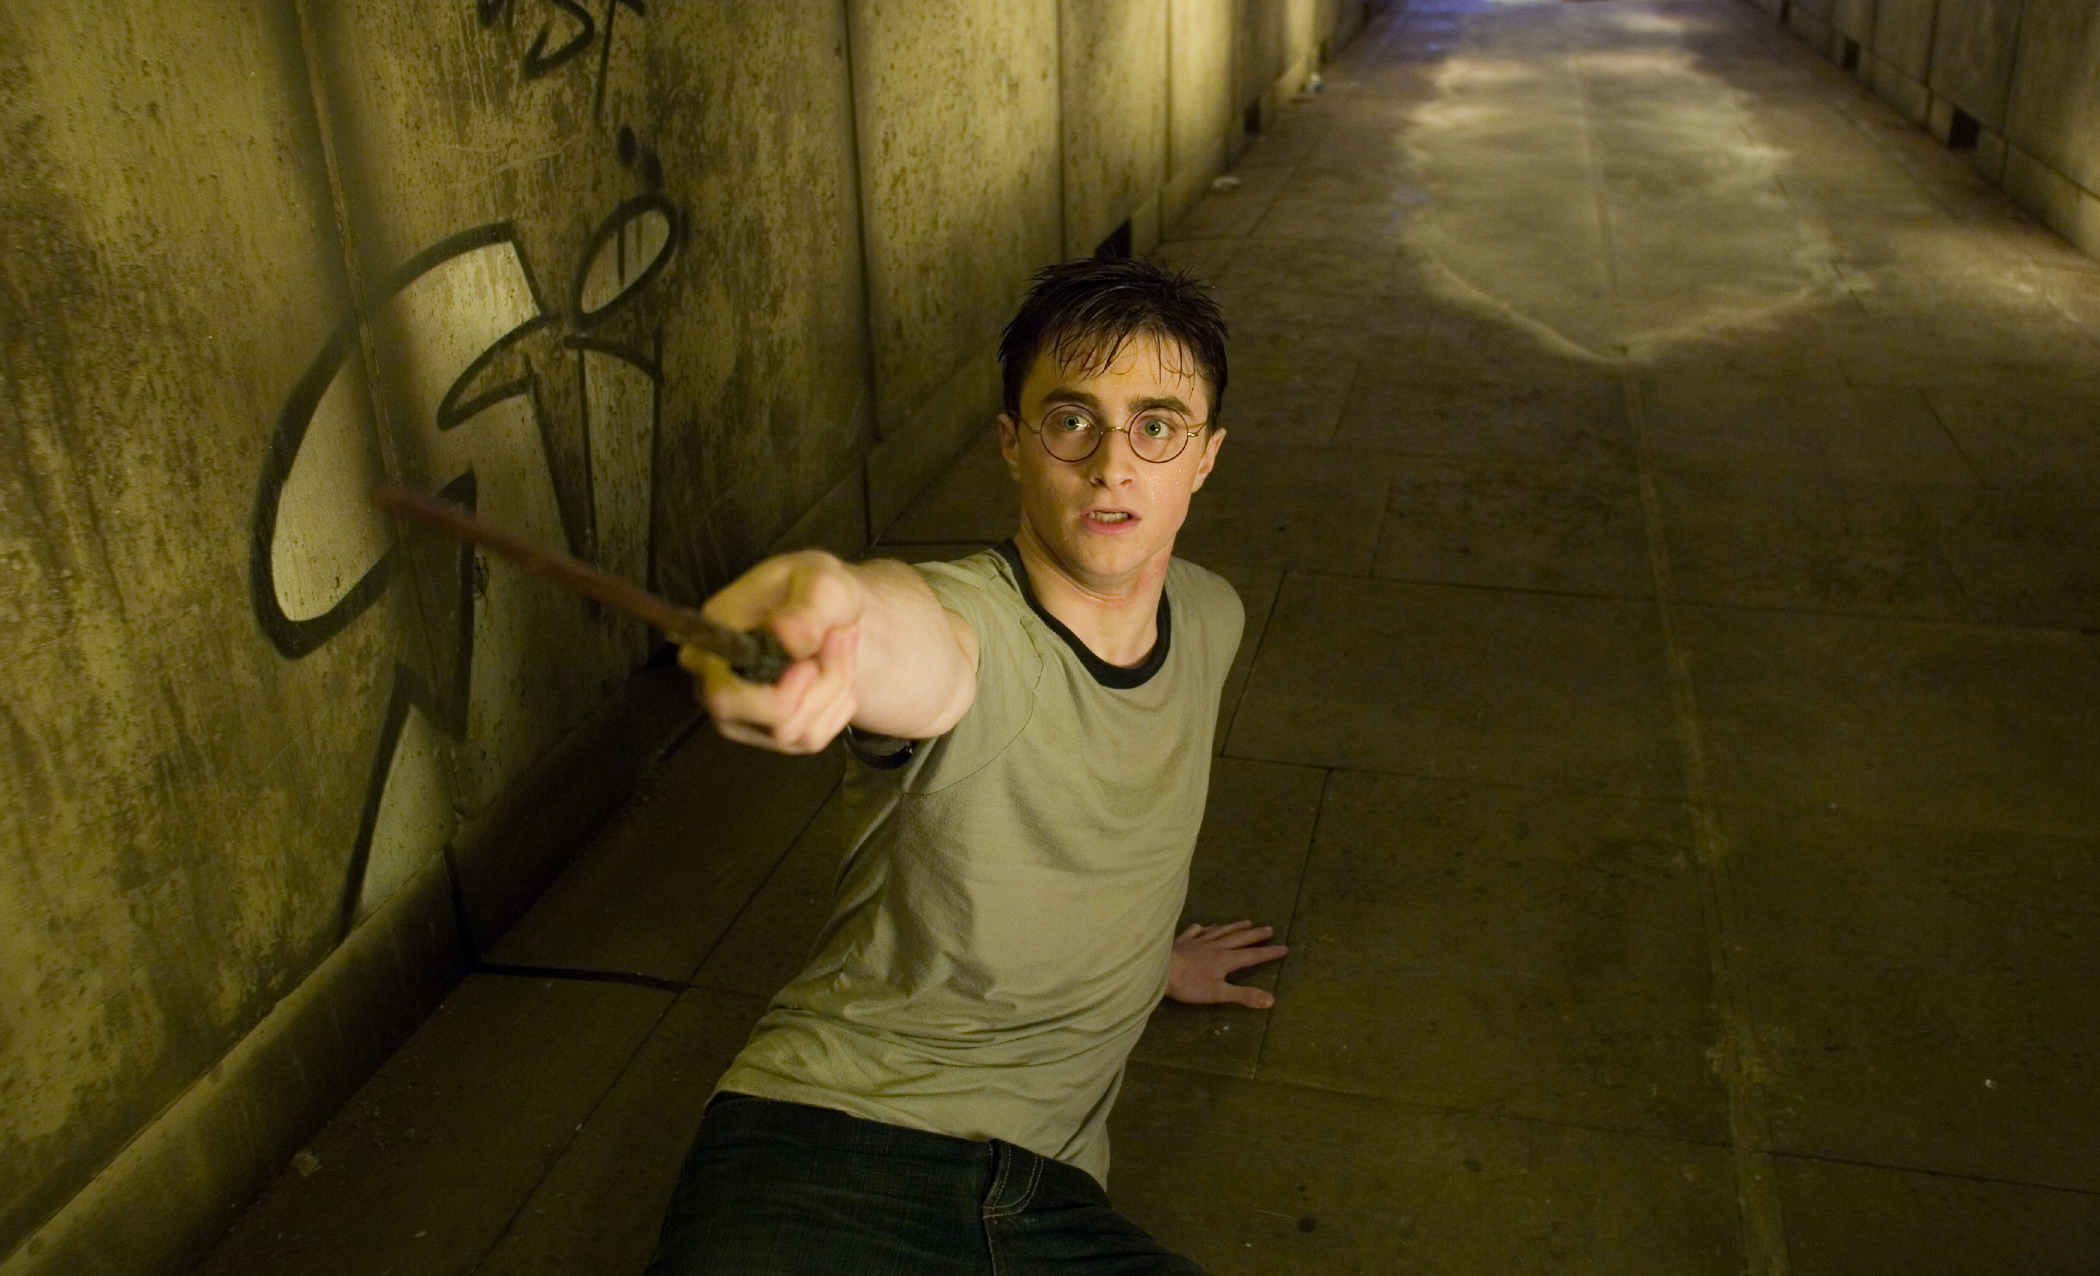
1. Interview Filming
Aim: To film an interview in a way that can show my technical competencies and appeal to the audience
Objectives:
- Use a variety of shot angles effectively like wide, medium, close-up etc.
Strength: Achieved this successfully during the filming of my b-roll because I shot a few of each shot
Weakness: Not all my shots were included in the final video so therefore, there were only establishing, wide and mid shots
Actions for the future: Maybe should have urged the editor to include more shots instead of just leaving it be
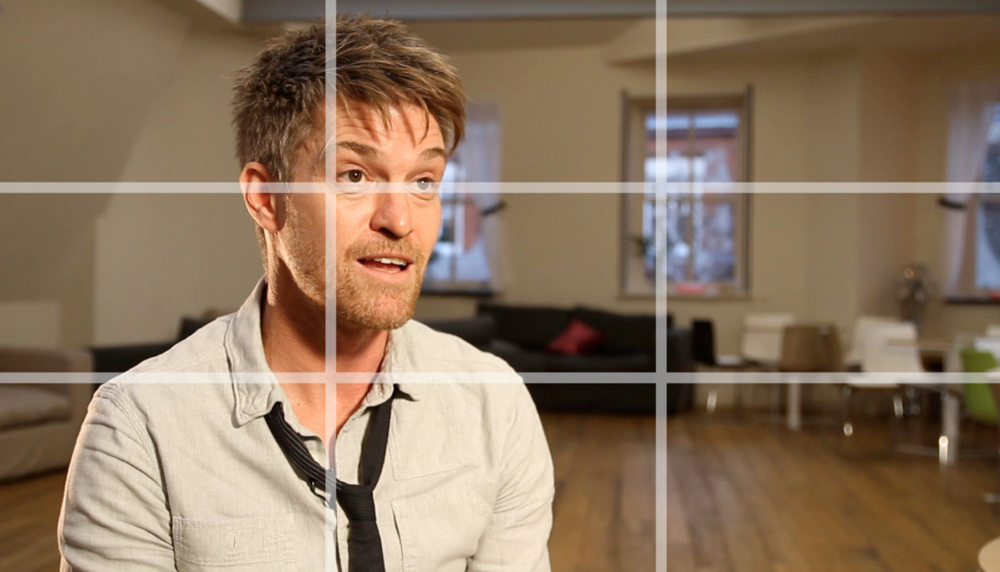
- Compose my shots using the rule of thirds
Strength: Was 100% successful in composing my A-roll in the rule of thirds
Weakness: Not all of the b-roll was composed using the rule of thirds at appropriate times
Actions for the future: Maybe should have reshot the b-roll footage in the correct composition
- Film using a tripod so that all footage will be steady
Strength: Was able to use a tripod for all shots, interview footage was completely steady
Weakness: Although a tripod was used, most b-roll footage wasn't steady because I was moving the tripod which was a bit redundant
Actions for the future: Could have replaced it with steadier shots or should have found a way to work around the issue of the shaky footage
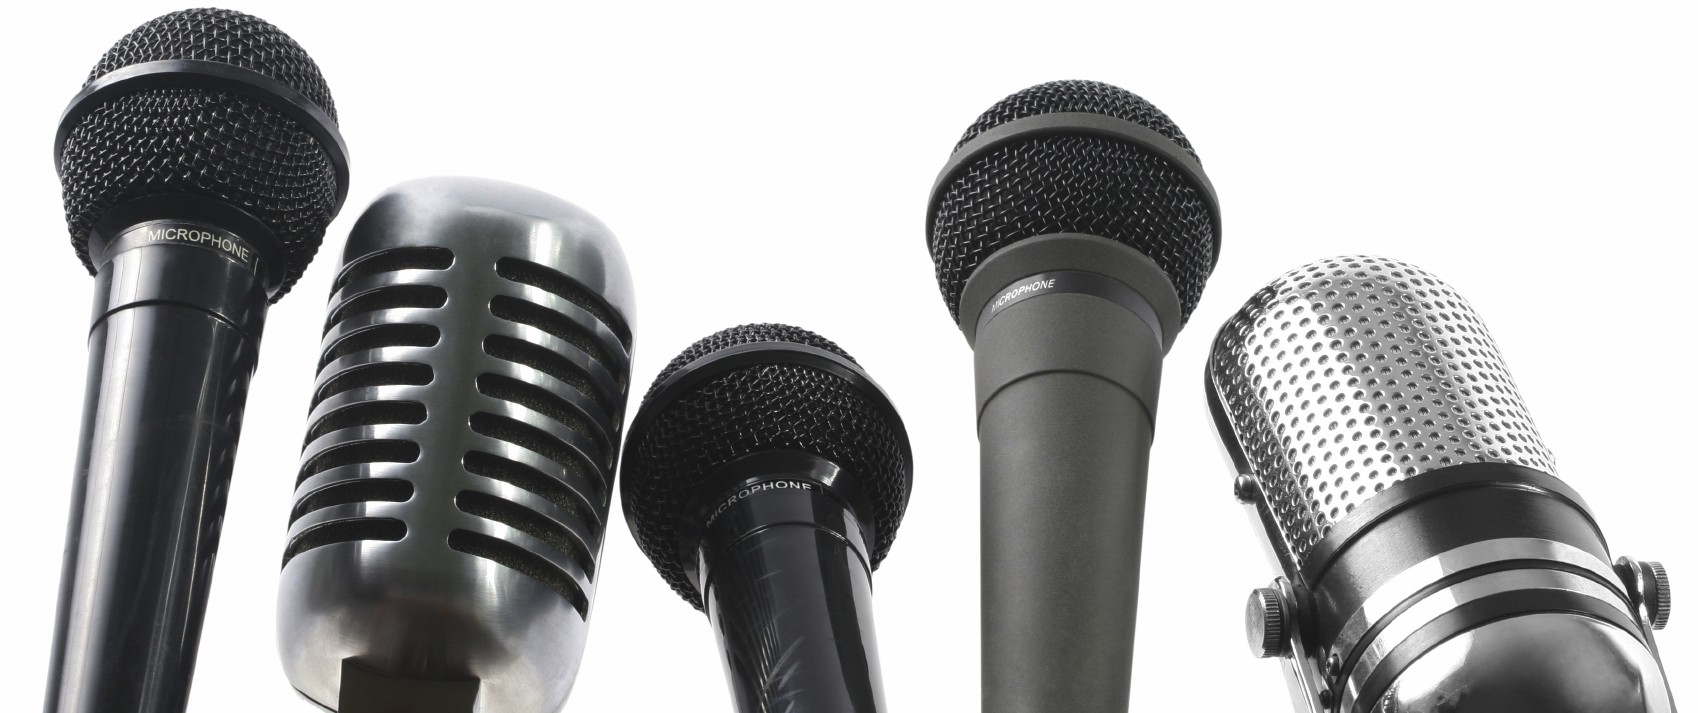
- Film in a quiet place so that there will be close to no background noise
Strength: Pretty successful because although there was a bit of static-like background noise, the audio was still clear
Weakness: A bit of static-like background noise
Actions for the future: Maybe change the position of the microphone or change the type, e.g. use a lavalier microphone so it will be closer to the subject
- Have appropriate headroom in footage
Strength: I think this was achieved perfectly
Weakness: /
Actions for the future: /
- Ensure the audio in the interview is usable and clear
Strength: Again, I feel like this was achieved close to perfectly
Weakness: A bit of static-like background noise
Actions for the future: /
- Make sure the interviewee is not looking directly at the camera
Strength: Achieved perfectly
Weakness: Although this objective was achieved, I didn't pay attention to the leadroom
Actions for the future: Shifted the camera a bit to get enough leadroom, pay closer attention next time
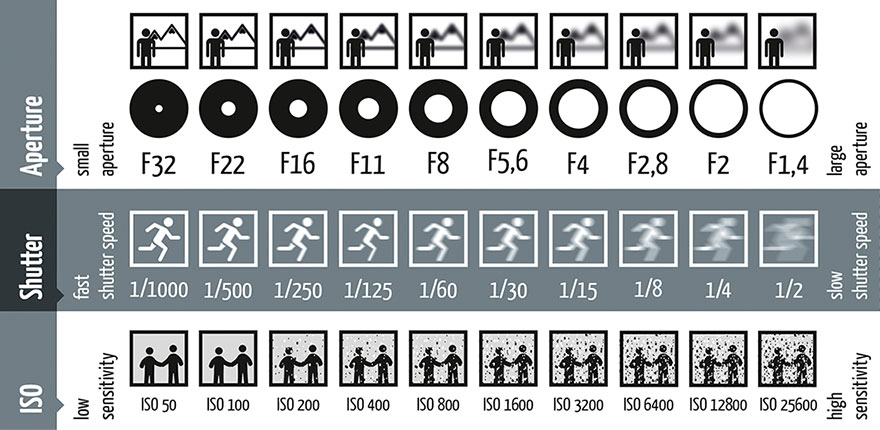
- Have the correct settings (white balance, exposure, contrast) on my camera/phone
Strength: I think this was achieved excellently during the A-roll
Weakness: Some parts of the b-roll that was a bit underexposed (when I changed the angle during a shot, the exposure didn't change in turn)
Actions for the future: Paid attention to this during filming and I should have reshot this
2. B-Roll Filming
Aim: To make the video more engaging and appealing using B-roll footage
Objectives:
- To film B-roll in suitable and topic-related places: e.g. the sea
Strength: I got a few shots of the ocean, and lots of footage on the interview day
Weakness: These shots weren't in the final video because we sourced better videos of real dolphins from the internet
Actions for the future: I think if my own shots were of a high quality as well, then they would have been included too so perhaps I should have took better footage
- To vary the amount of B-roll and A-roll footage in the final video
Strength: I think this was achieved well
Weakness: Some b-roll could have been added during the interview
Actions for the future: Advise the editor to do so next time
- Use a variety of shots and angles during the filming of B-roll
Strength: Succeeded in this
Weakness: Shots weren't very steady, the speed of the movements weren't constant, could have tried more techniques like pull focus
Actions for the future: Tried new angles, reshot footage or found a way to make the camera movements smooth
- Have the correct settings (white balance, exposure, contrast) on my camera/phone
Strength: Close to perfect in achieving this goal- I always remembered to set my exposure manually
Weakness: Did not attempt to experiment with the white balance (although it was already correct), some shots were slightly underexposed
Actions for the future: Avoid shooting in places with high contrast or strong shadows
- Avoid shaky or blurry footage
Strength: Had steady footage during all of a-roll
Weakness: B-roll wasn't always steady
Actions for the future: Replaced it with steadier footage
3. Organization and Preparation of Equipment
Aim: To have the correct equipment that is of high quality and will be able to take high-quality footage
Objectives:
- To follow my pre-filming checklist
- Download the recommended app and use it
- To have and use a tripod
- To have and use a filming camera that will be borrowed from the school (or phone)
- To have and use a microphone (possibly a lavalier) that will be borrowed from the school
- To use the microphone in close proximity and obtain clear audio
- If equipment needs to be borrowed from the school- make sure to book it earlier and that it is available for use
Strength: I followed my pre-filming checklist, used a tripod, used a high quality filming camera, used a microphone in close proximity, was able to get clear audio and used the recommended app at times to film some B-roll
Weaknesses: I don't think this can be called a weakness but I didn't use the equipment from school since our interview was at half-term and before we were taught how to use the school equipment so instead, I had to use my own equipment.
Actions for the future: Maybe should have tried to use the school equipment as well (?)
4. Audio Recording
Aim: To always have clear audio throughout the whole video
Objectives:
- To always record in a quiet environment
Strength: Done so in the interview- it was in a quiet office with no one else
Weakness: Altough it was a quiet environment, there was still some background noise
Actions for the future: Could have also tried closing all doors as well as windows to reduce as much background noise as possible or could have used a program to process the audio in order to remove the background noise
- To use microphones while filming most of the time
Strength: Succeeded in this
Weakness: /
Actions for the future: /
- To record in close proximity
Strength: Succeeded in this
Weakness: /
Actions for the future: /
- If doing voiceovers, make sure the speaker is loud and clear, so that it can be of the best quality possible
Strength: All the voiceovers were loud and clear which was good
Weakness: The volume of the voiceovers were varied so some sounded a bit louder than others
Actions for the future: Rerecorded those voiceovers that were a bit too soft or loud in order to get the best result
I think the biggest problem I had was the B-roll. Since our topic is about dolphins, the best possible B-roll we could get is obviously footage of dolphins. However, dolphins are a very rare sight and even harder to shoot. Therefore, we had to resort to footage from the internet.